Your first film in three minutes
Install BrickNote, open the sample project and play the film that comes with it. No account and no key needed.
Install BrickNote
BrickNote runs on a Mac with Apple silicon.
Open the .dmg file you received and drag BrickNote into your Applications folder. Open it from Applications.
Early-access builds are not notarised by Apple yet, so macOS may say it cannot check BrickNote. If it does, open System Settings, go to Privacy & Security, scroll down and click Open Anyway next to BrickNote, then confirm. You do this once.
You need no account to start. Your project stays on your Mac; a film sends only what it uses to your own model accounts.
Watch what it makes
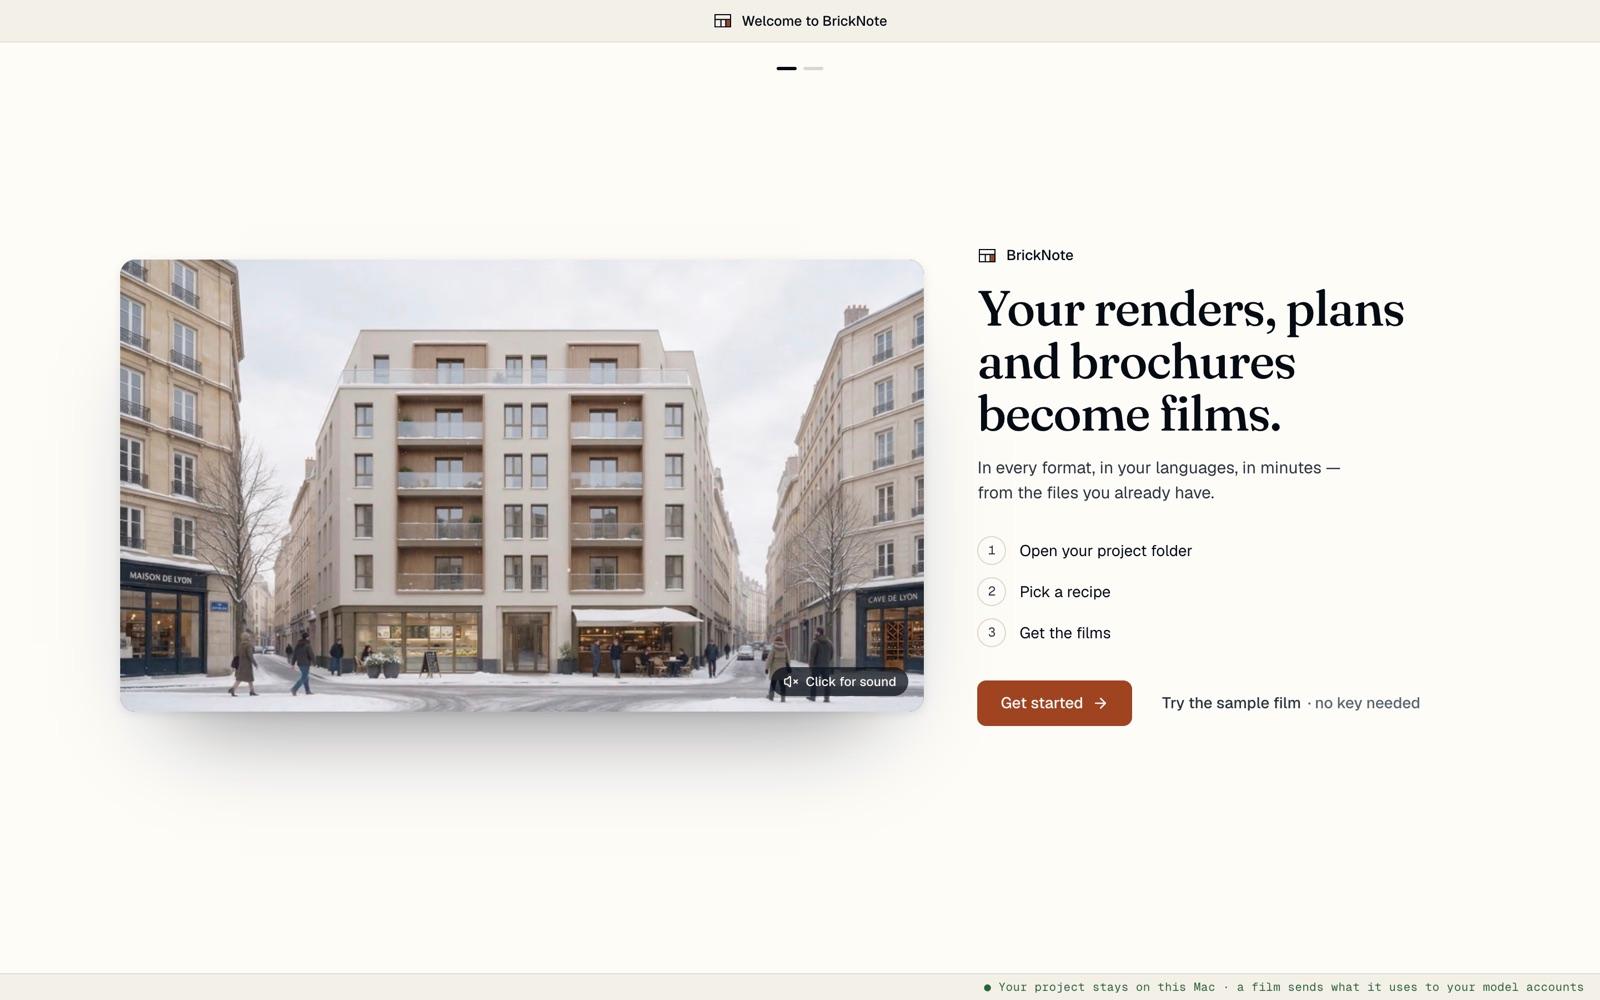
The welcome screen plays a short film that BrickNote made from a project’s own pictures. Click Click for sound to hear it.
Three steps sum up the app: open your project folder, pick a recipe, get the films. Click Get started. To see a finished film first, Try the sample film opens the sample at once, with no key, and skips the next step.
Skip the keys for now
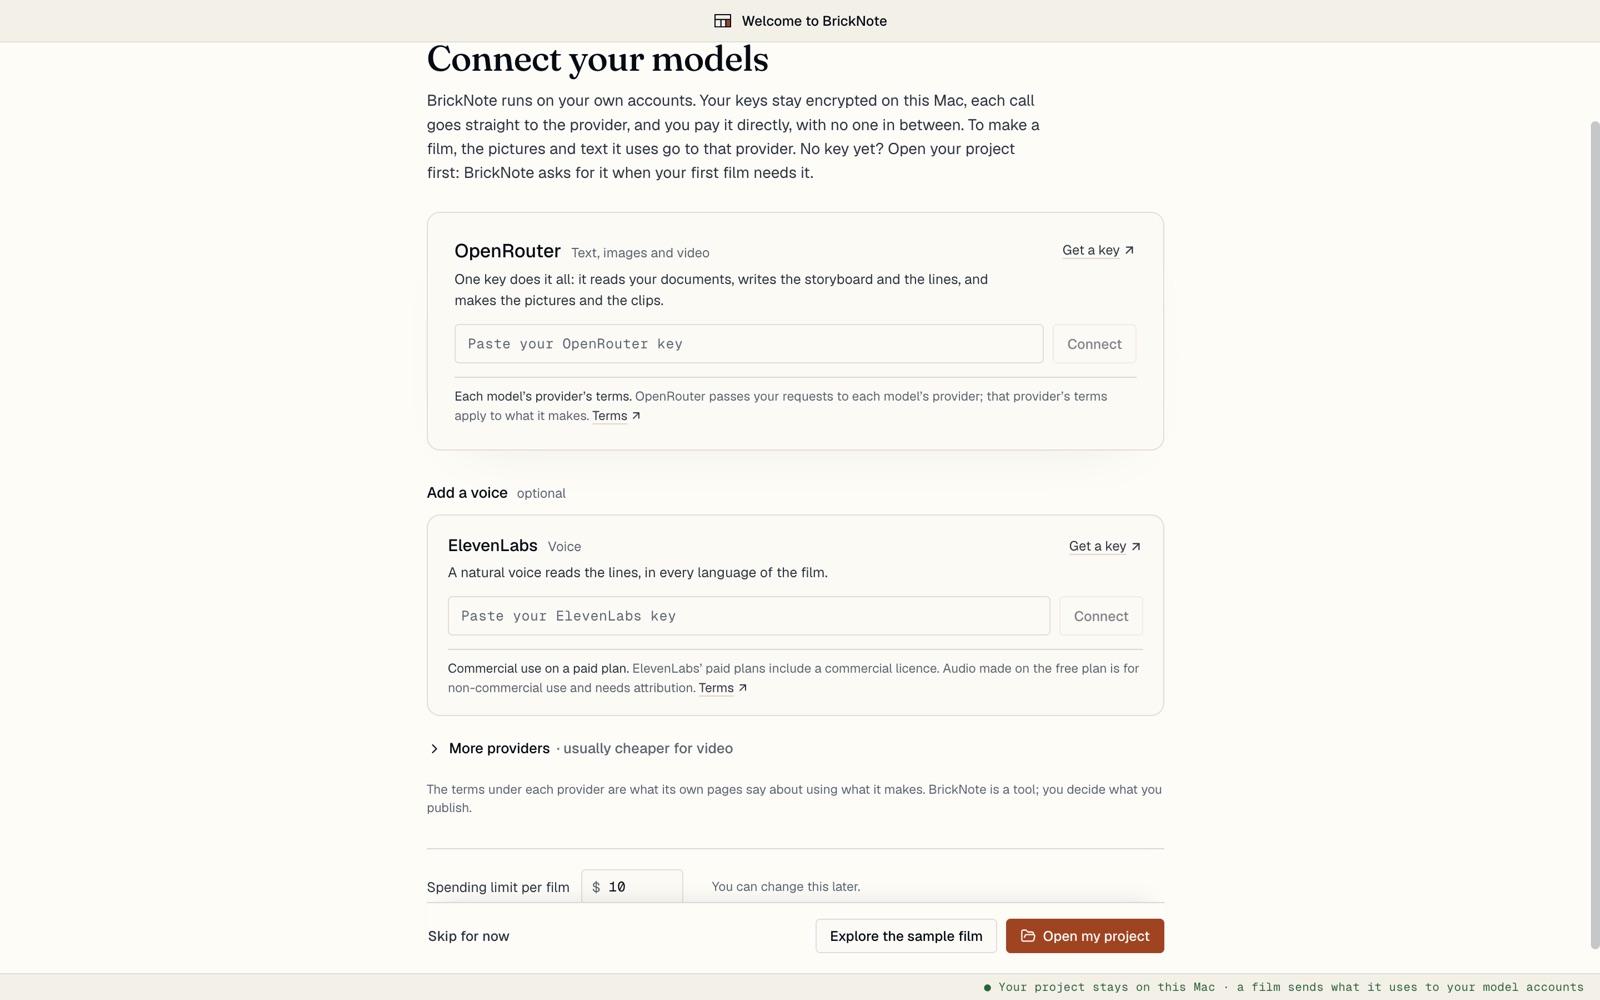
The next screen, Connect your models, asks for your model accounts. You can do that later: the sample needs no key.
At the bottom, click Explore the sample film. The Spending limit per film set on this screen is kept, and you can change it later in Settings.
Meet the sample project
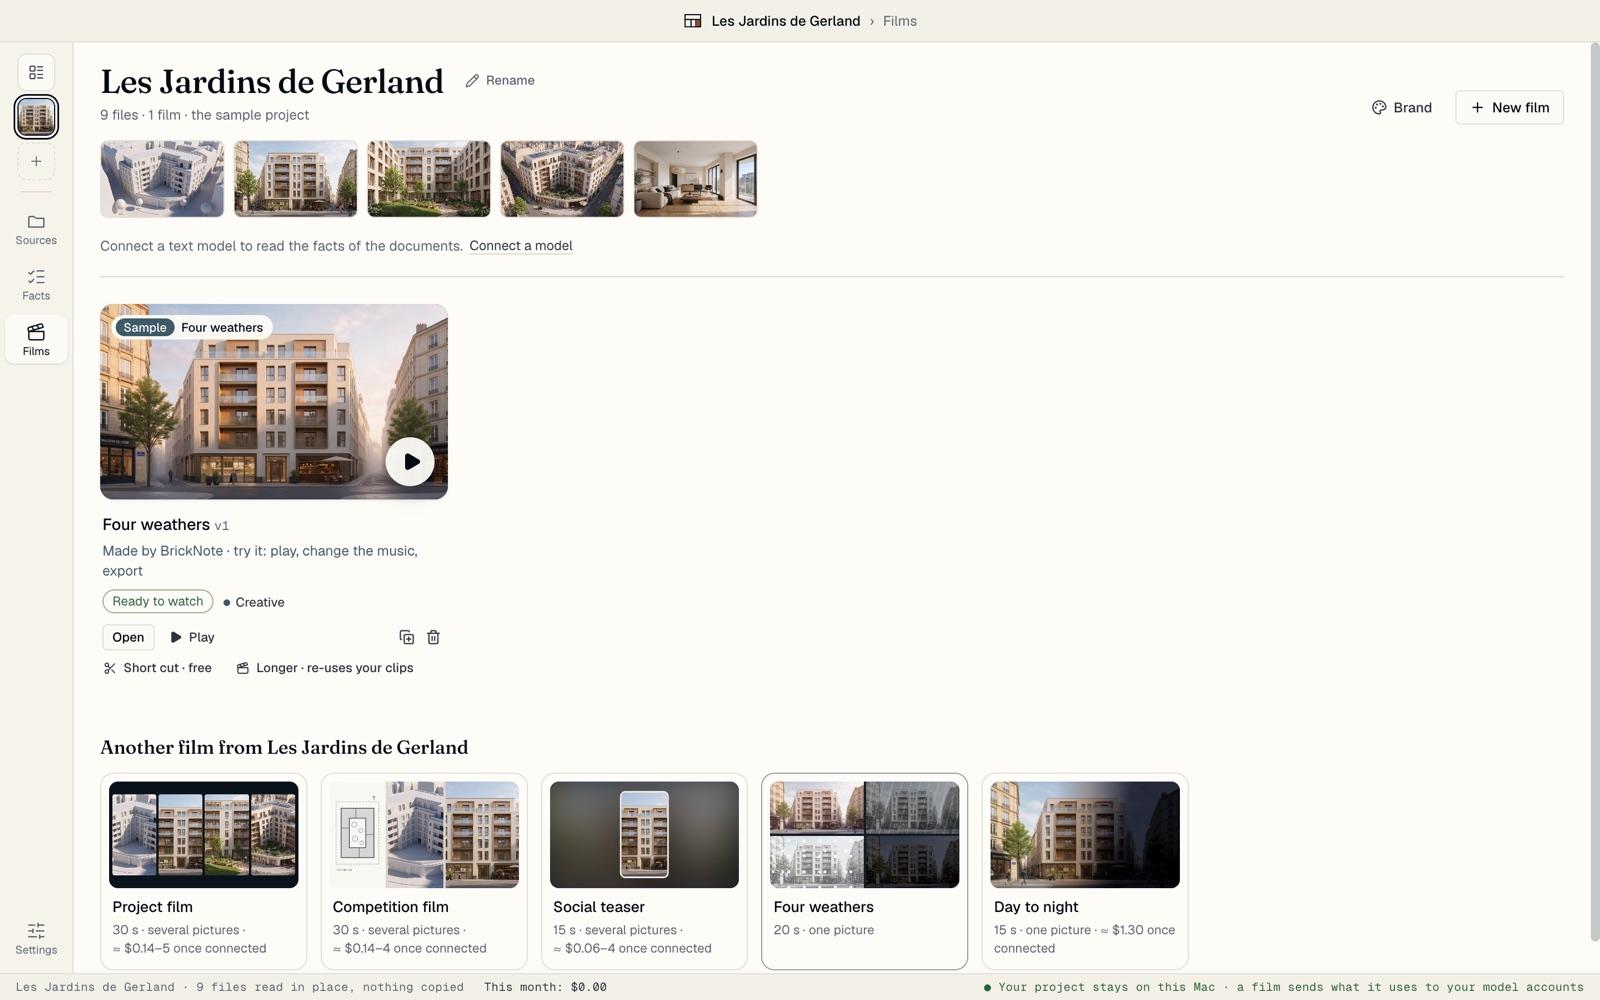
BrickNote copies a fictional project, Les Jardins de Gerland, into Documents › BrickNote Sample and opens it. None of your own files is touched.
The project opens on its films. The sample comes with a finished Four weathers film: one render at dawn, in the rain, in the snow and at night. Its card says Ready to watch.
Under it, the recipes show what else you can make from the same pictures.
Open it in the studio
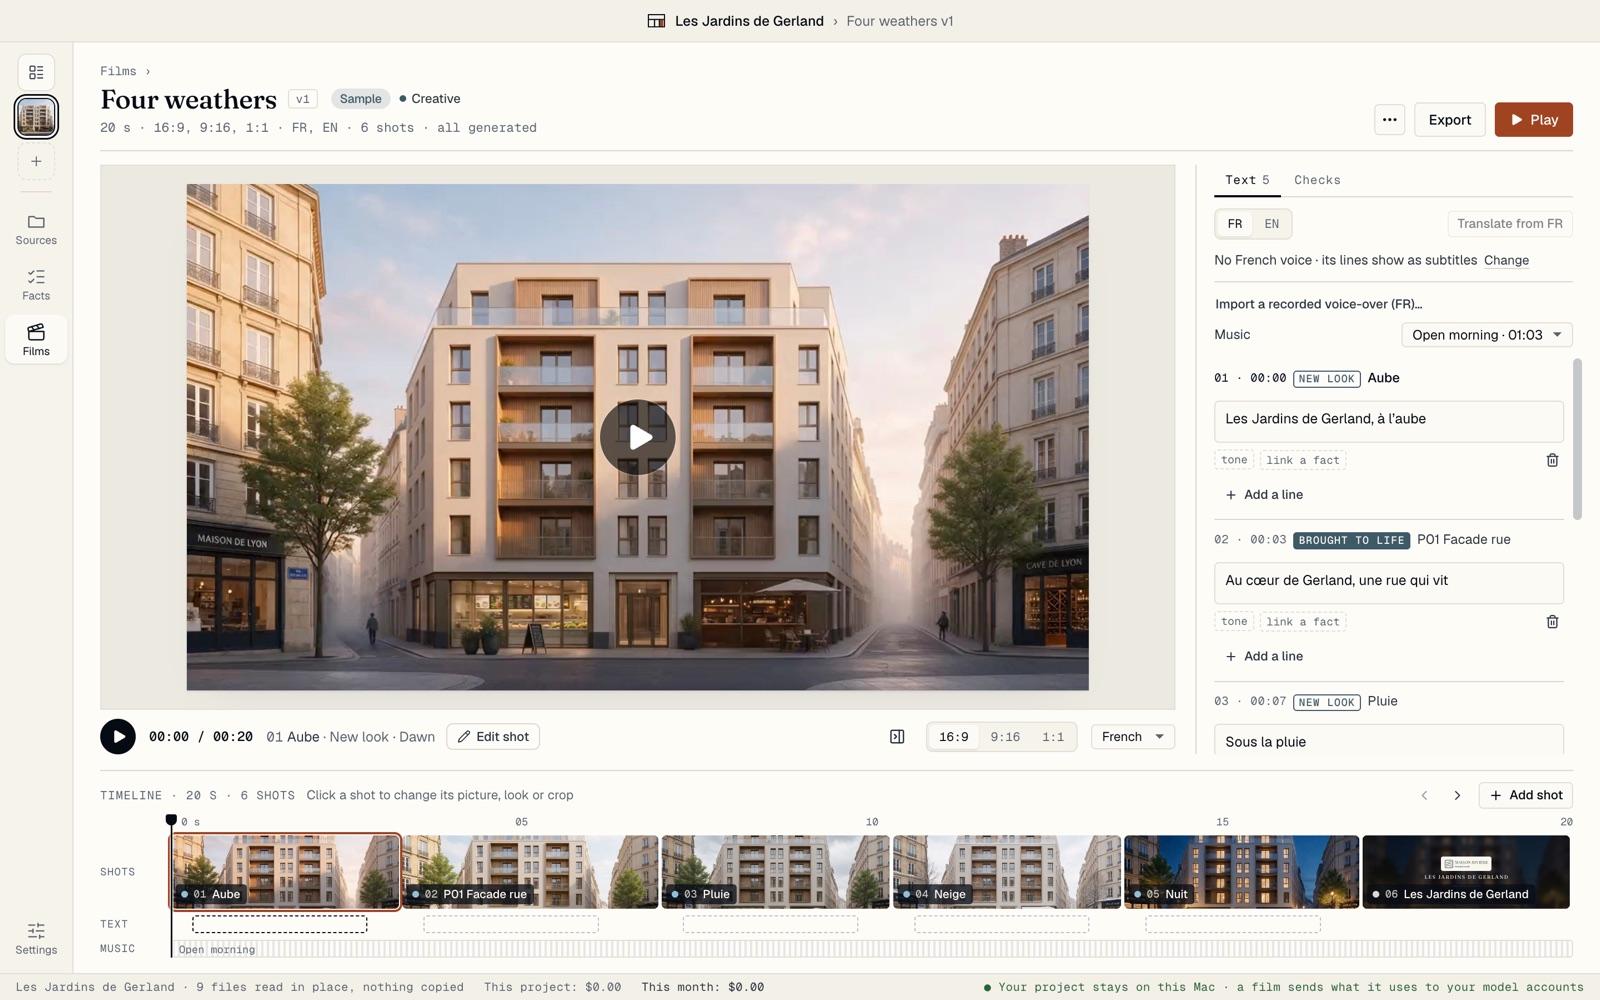
Click Open on the film’s card. The studio shows the film: the player in the middle, the shots on the timeline at the bottom, and the text, voice and music on the right.
Each block on the timeline is a shot. Its label says what it is: New look for your picture in another light or weather, Brought to life for your picture moving, Title card for the end card.
Play it
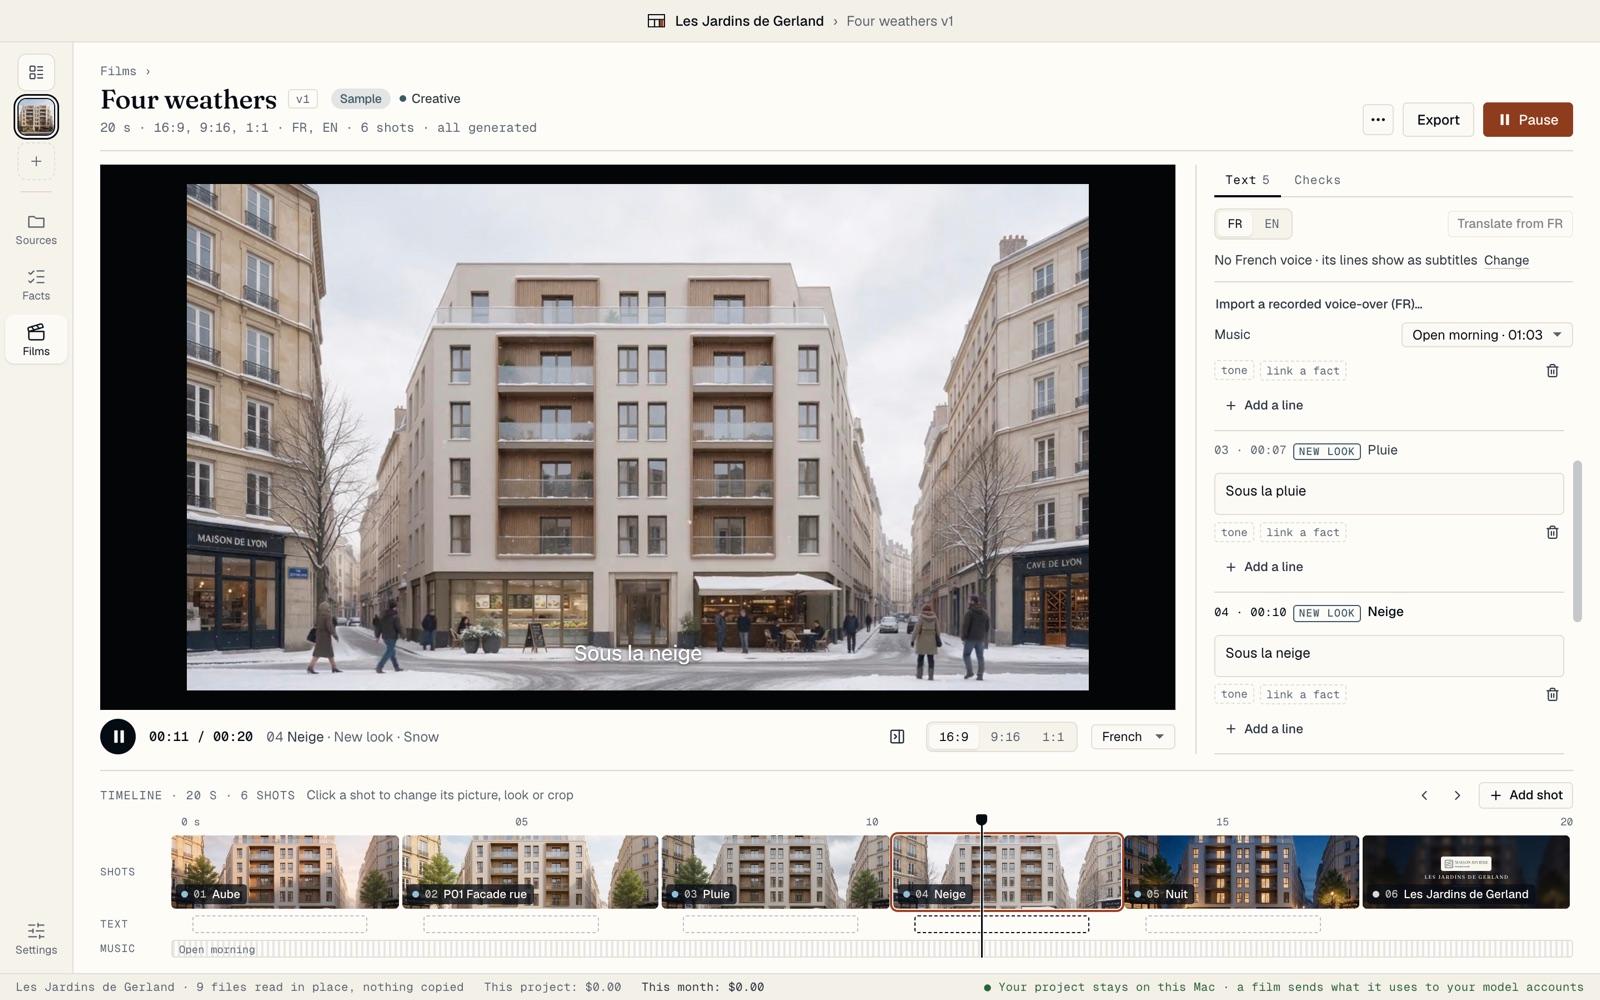
Click Play, or press the space bar. The film plays right in the studio, with its camera moves, its dissolves and its music. Nothing is rendered and nothing is paid.
Under the player, switch between 16:9, 9:16 and 1:1 to see each format, and pick a language in the menu next to them. Click the ruler above the shots to jump to a moment.
Look inside a shot
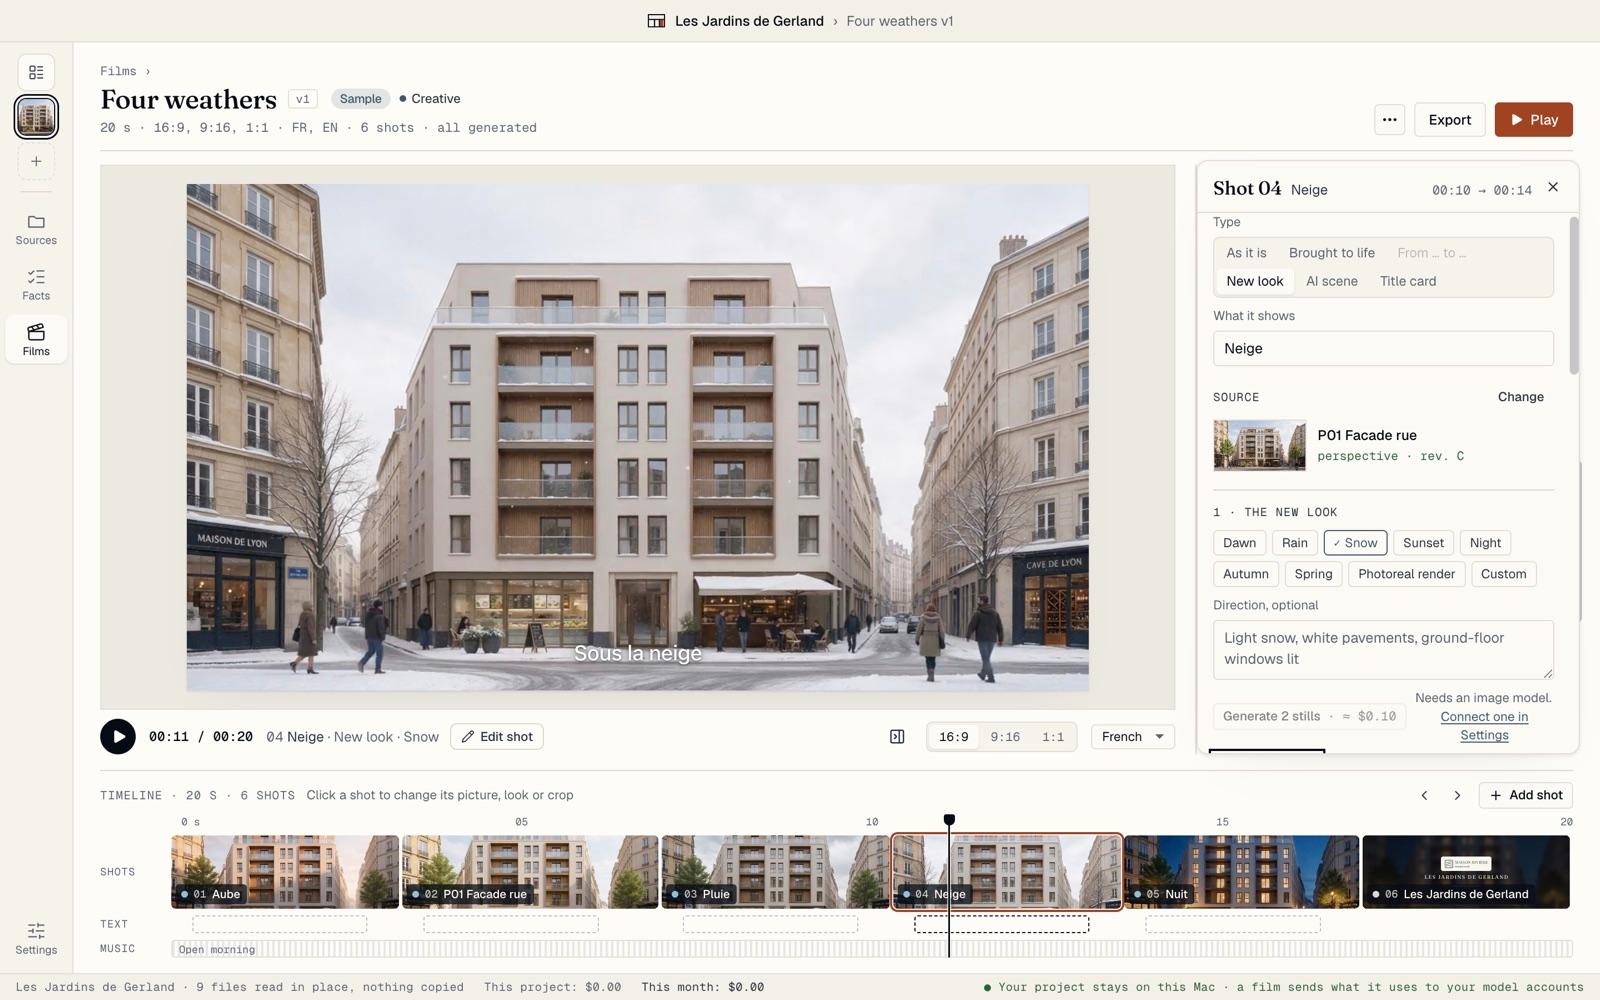
Click a shot on the timeline, or Edit shot beside its name under the picture while the film is paused. A panel opens with everything about it: its source picture, its new look, what moves, the camera and the framing in each format.
Every button that makes something new shows its price, like Generate 2 stills at ≈ $0.10. Without a key, it says which model it needs, so nothing can be spent by mistake.
Some changes are always free: pick another track in Music on the right, or drag a shot to another place on the timeline.
Export the films
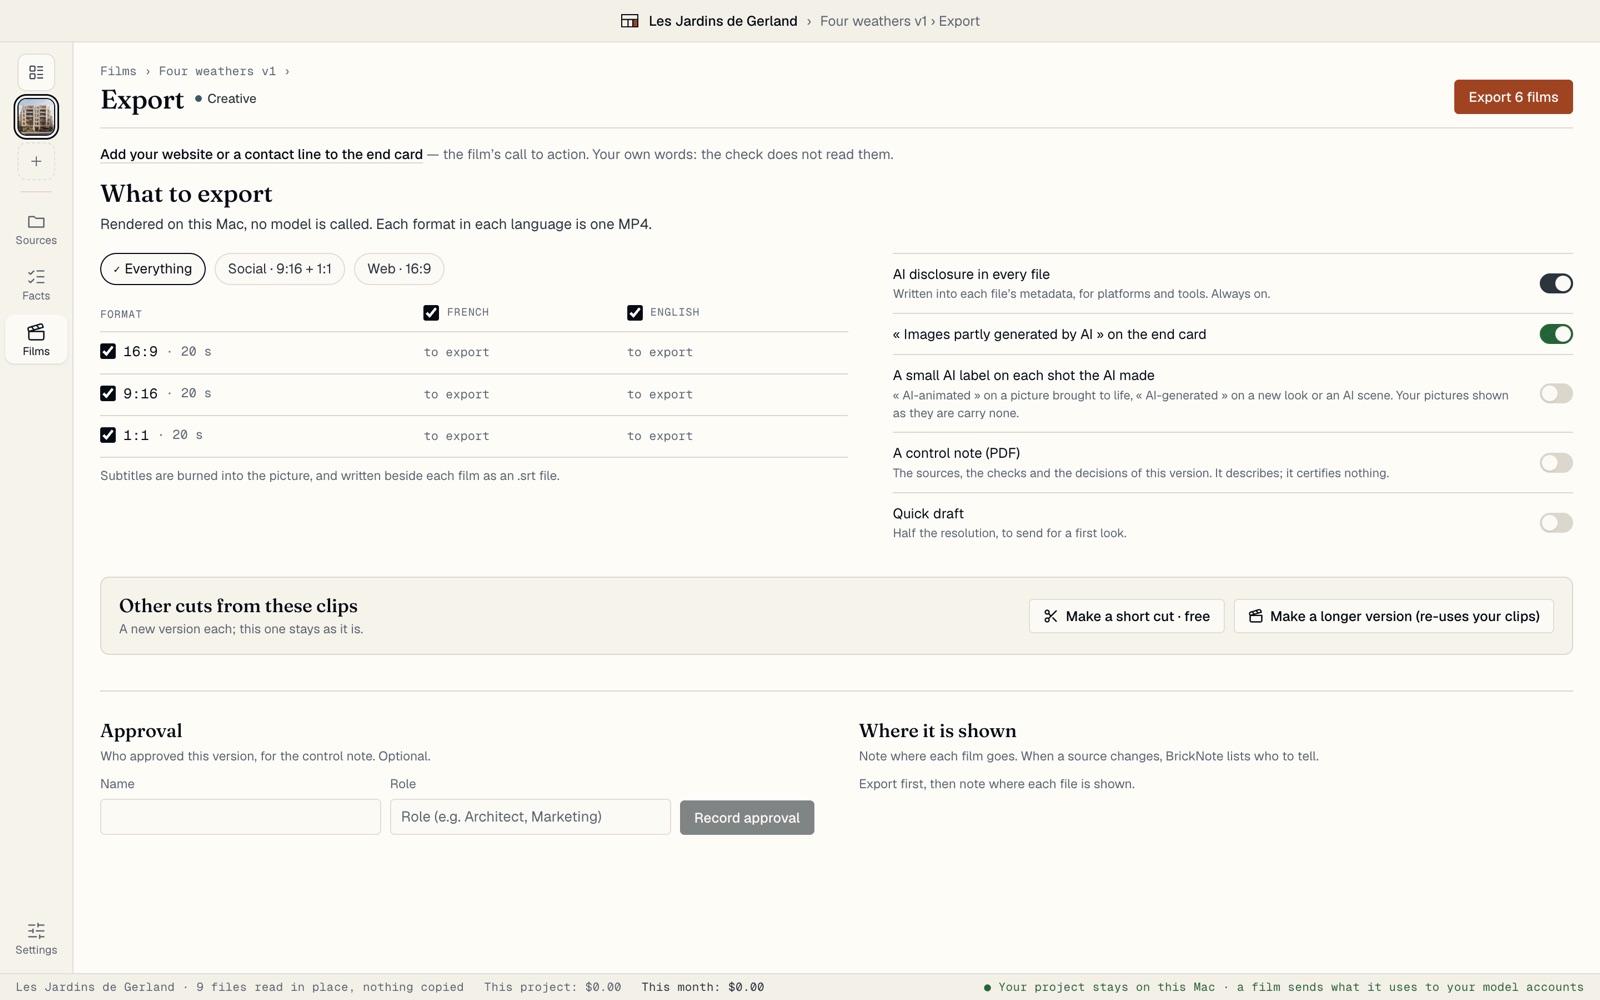
Click Export. BrickNote renders the films on your Mac: no model is called and it costs nothing.
Each format in each language is one MP4 file, with an .srt subtitle file beside it. Every file says in its metadata that it was partly made with AI.
Click Export 6 films. The films are saved in a BrickNote folder inside the project folder. Next, open your own project: see “Open your project folder”.