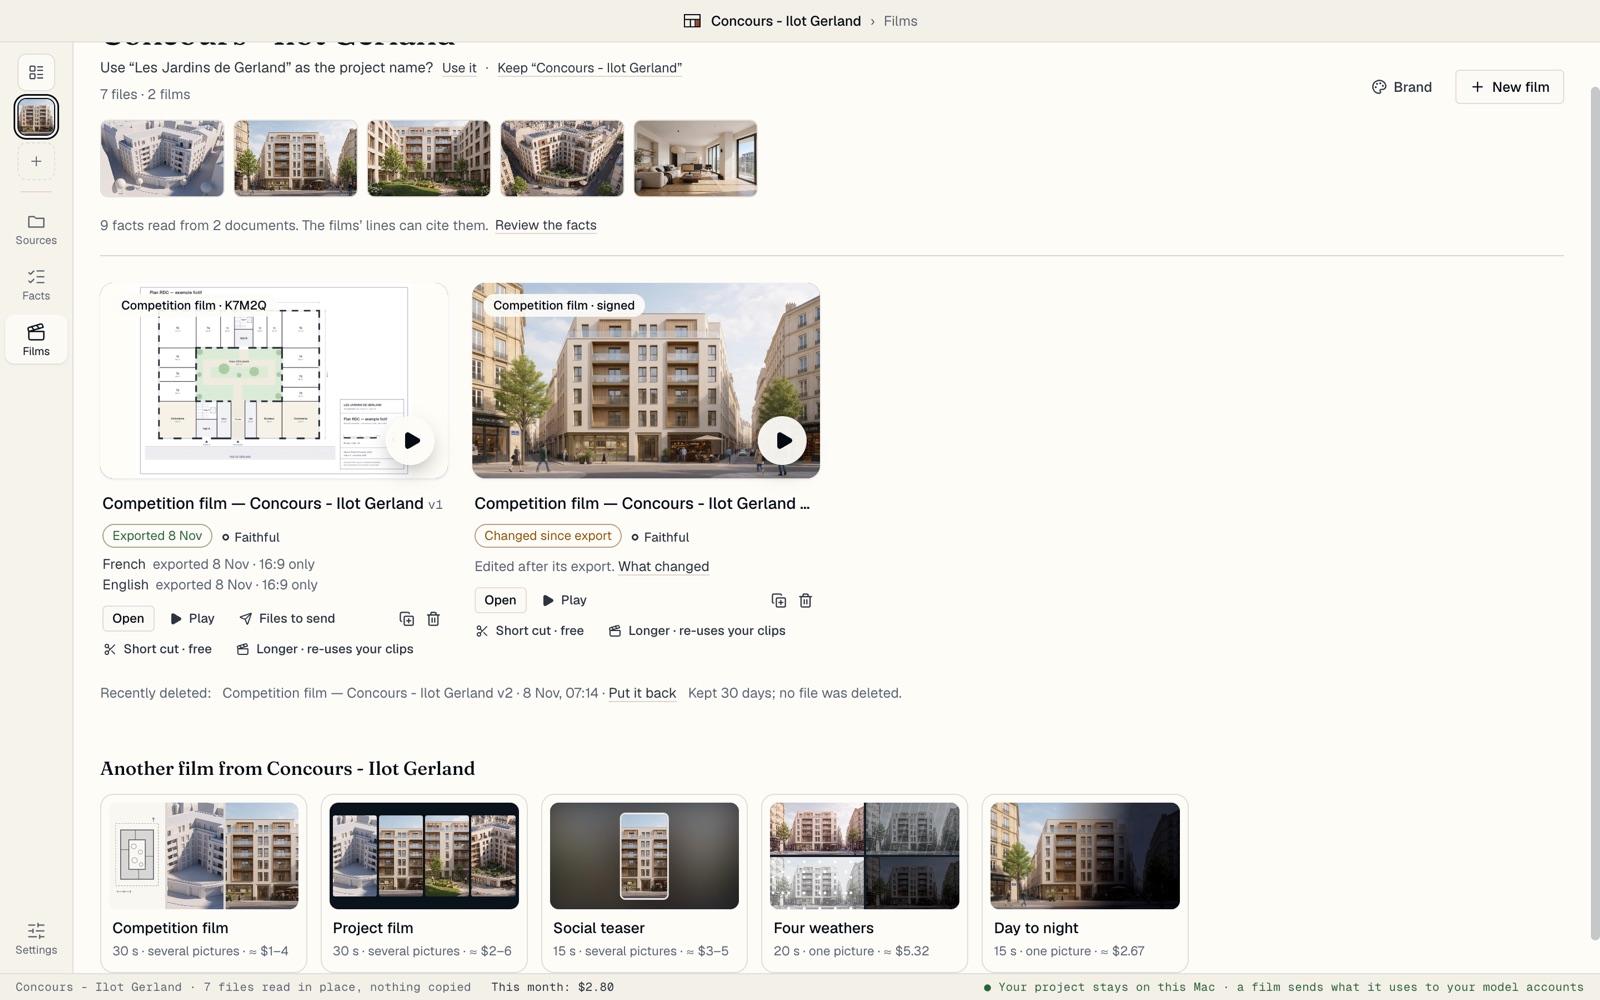
Connect your model accounts
BrickNote runs on your own accounts: OpenRouter for text, pictures and clips, ElevenLabs for the voice. Set a spending limit and see every price before you pay.
Know what each account does
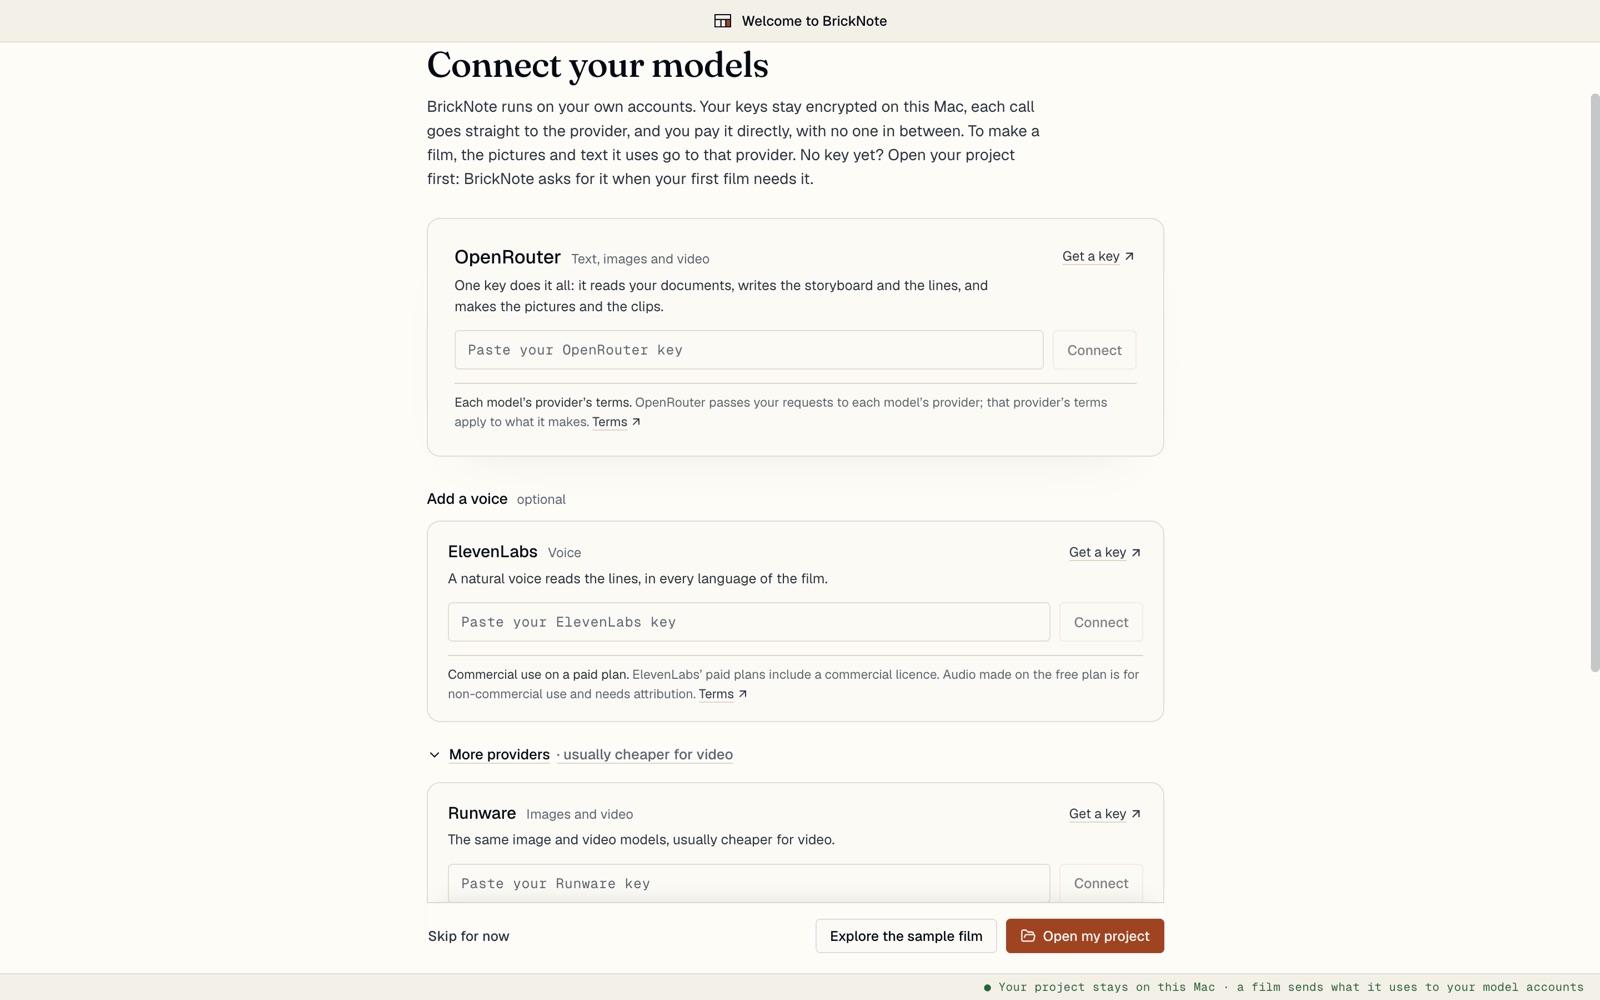
The models run on your own accounts. BrickNote calls each provider with your key, and the provider bills you directly, with no one in between.
OpenRouter does it all: it reads your documents, writes the storyboard and the lines, and makes the pictures and the clips. One OpenRouter key is enough to make a film.
ElevenLabs is optional: a natural voice reads the lines, in every language of the film. Without it, the lines show as subtitles.
Under More providers, Runware and BytePlus make the same kind of pictures and clips, usually for less.
Paste a key
Find the provider on the welcome screen, or later in Settings › Models and keys.
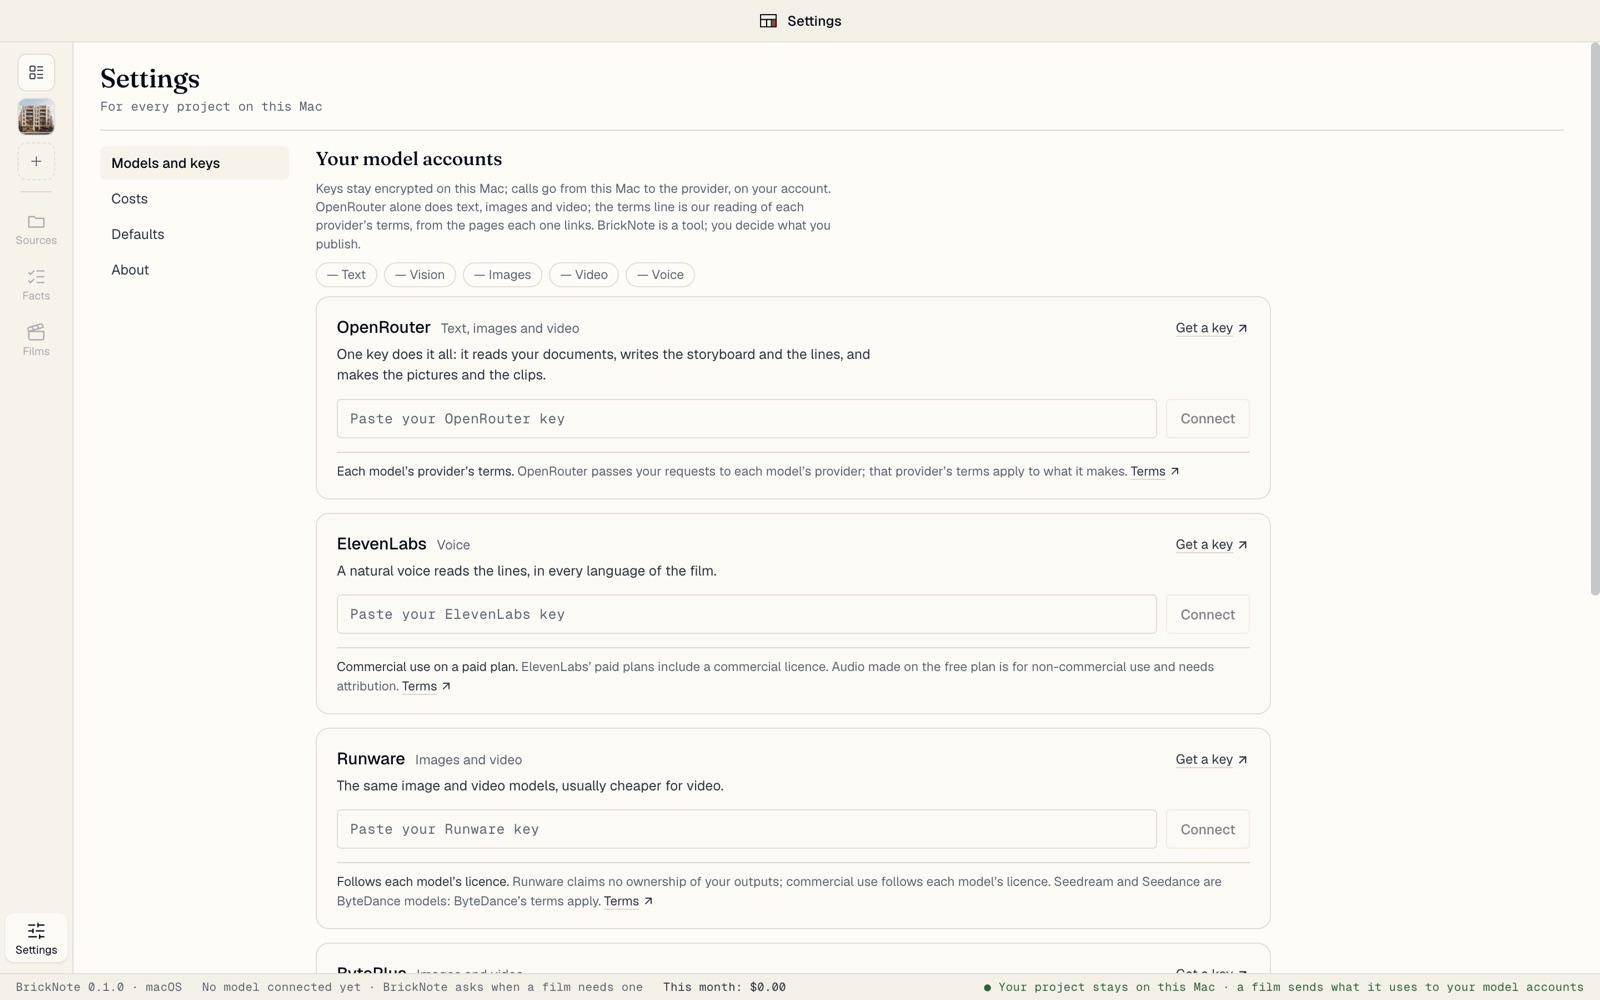
Click Get a key to open the provider’s page. Create a key there and copy it. Paste it in the field and click Connect. BrickNote tests it at once and says ✓ It works, or why it did not.
The key is stored encrypted on this Mac and nothing goes to Apithings. Only its last four characters show afterwards.
Check what can run
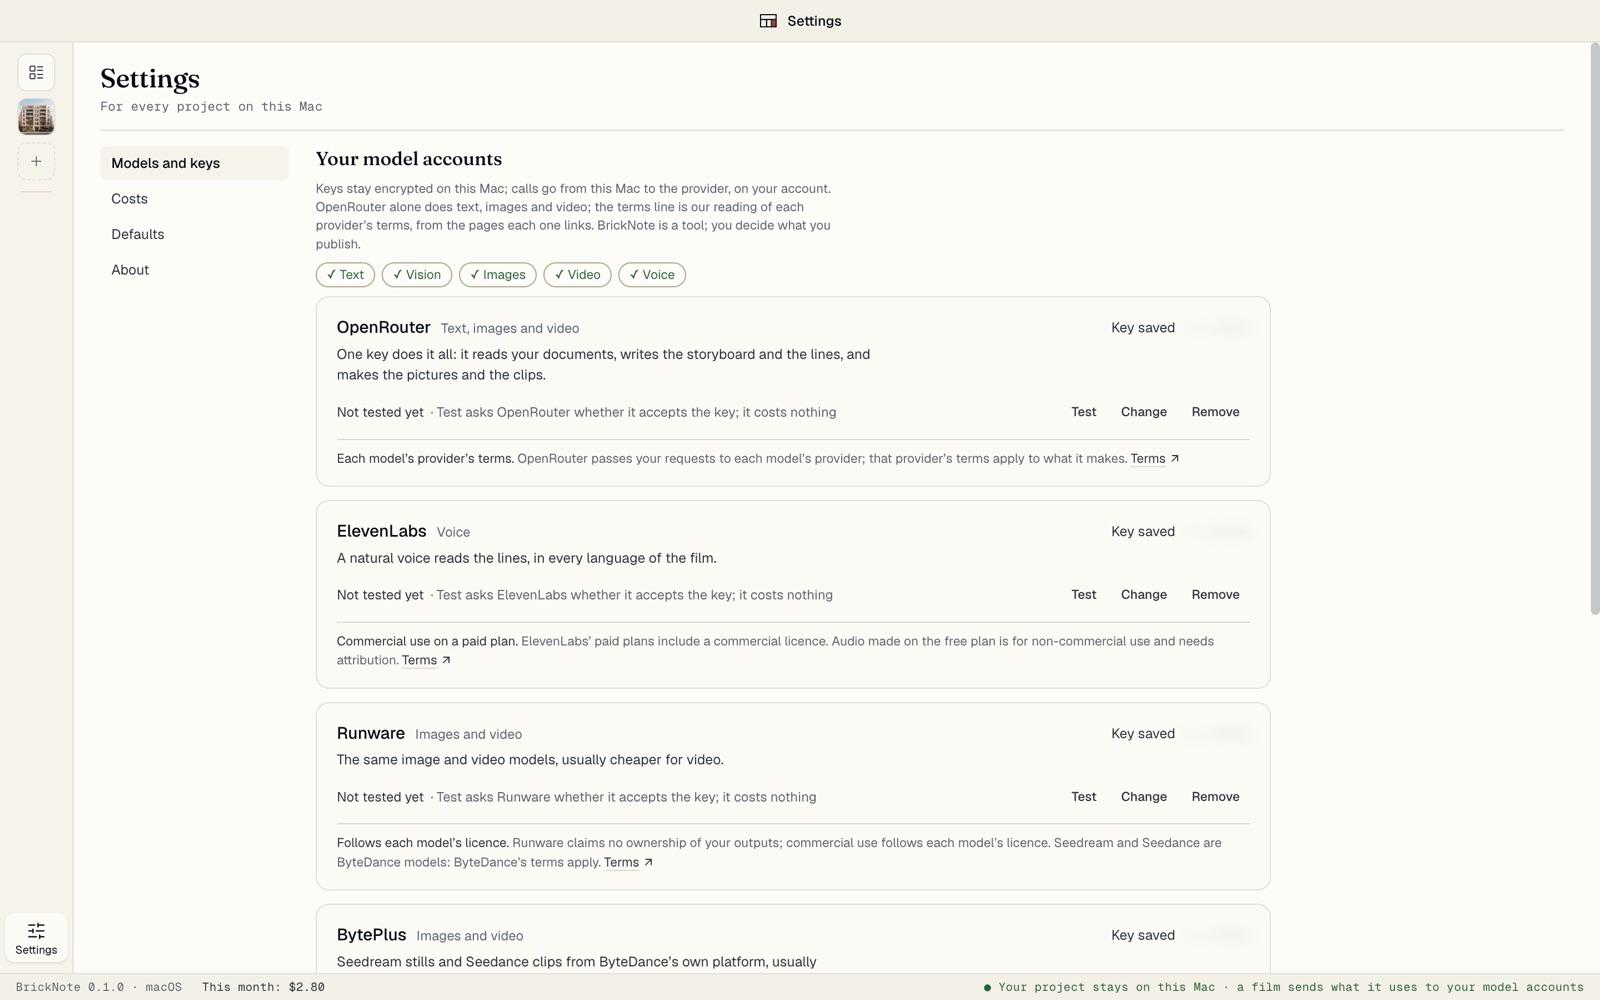
An account whose key passed its test says Connected, with Test, Change and Remove beside it. A key saved but never tested says Key saved: click Test, it costs nothing. When the last test failed, the account says Needs attention, with the reason and when it was tested. BrickNote still uses the key, in case the provider was only down: test it again, or change it. The row above the accounts ticks what can run now: Text, Vision, Images, Video and Voice.
Under each provider, a line says what its terms allow for what it makes, with a link to the terms themselves. It is our reading, not legal advice: you decide what you publish.
Or connect when a film needs it
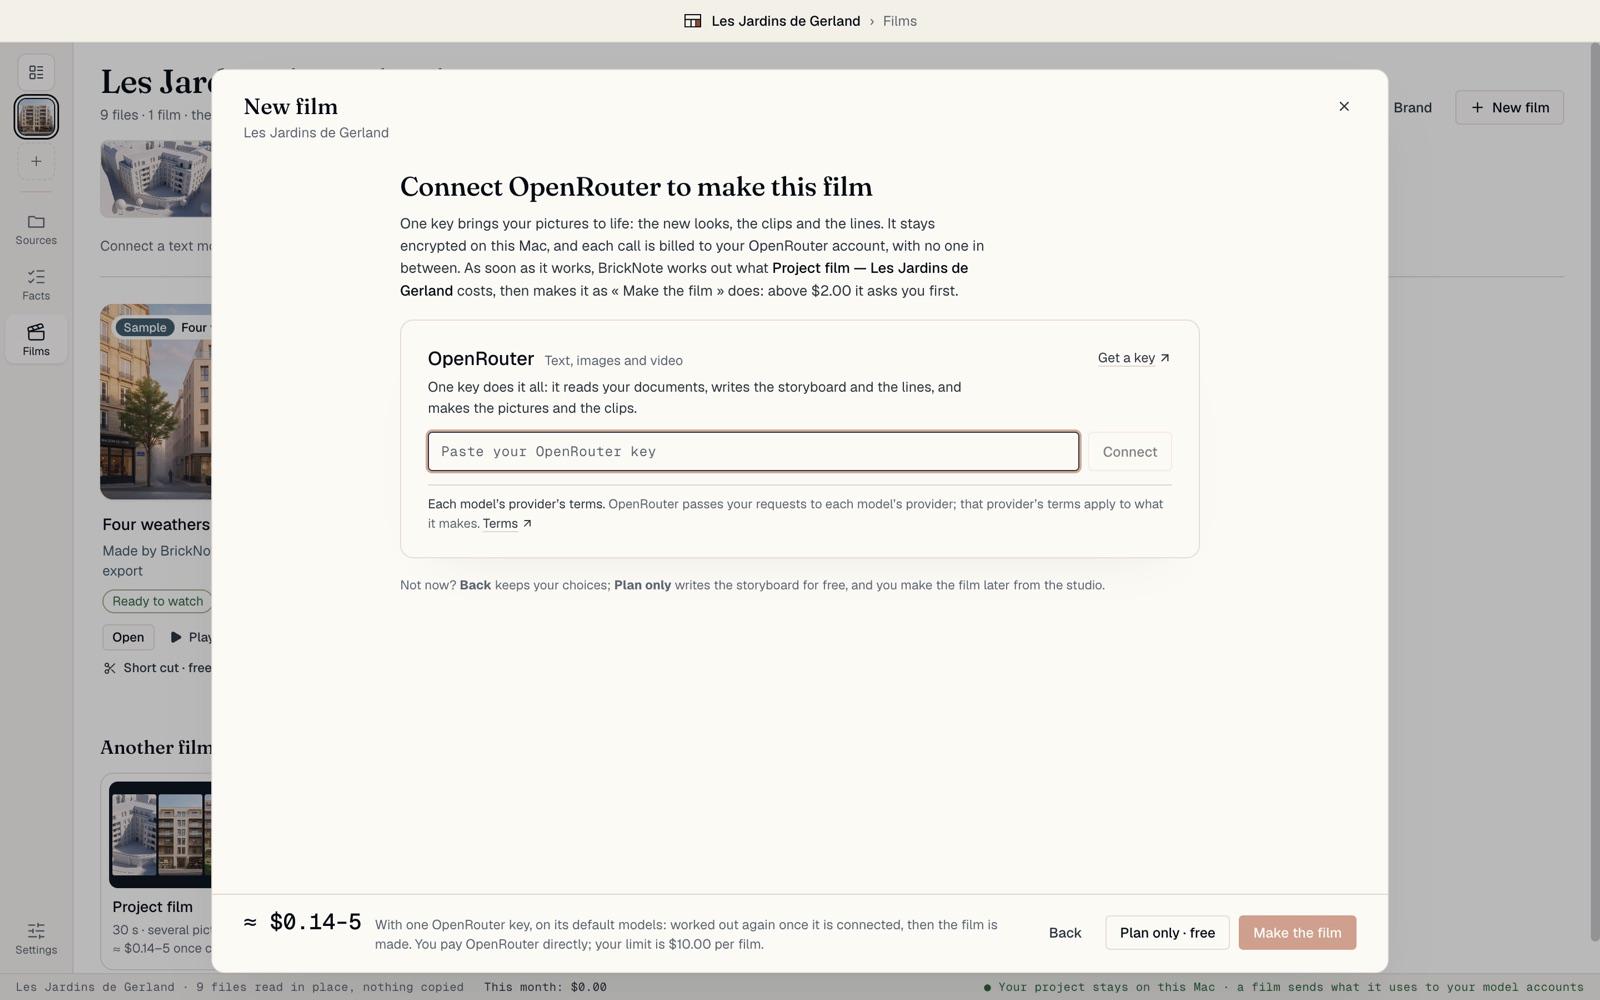
You can skip the keys and open your project first. When you click Make the film for the first time, BrickNote asks for the OpenRouter key right there.
As soon as the key works, BrickNote works out the price and makes the film, within your spending limit.
Not ready? Back keeps your choices. Plan only · free writes the storyboard for free, and you make the film later from the studio.
Set your limits
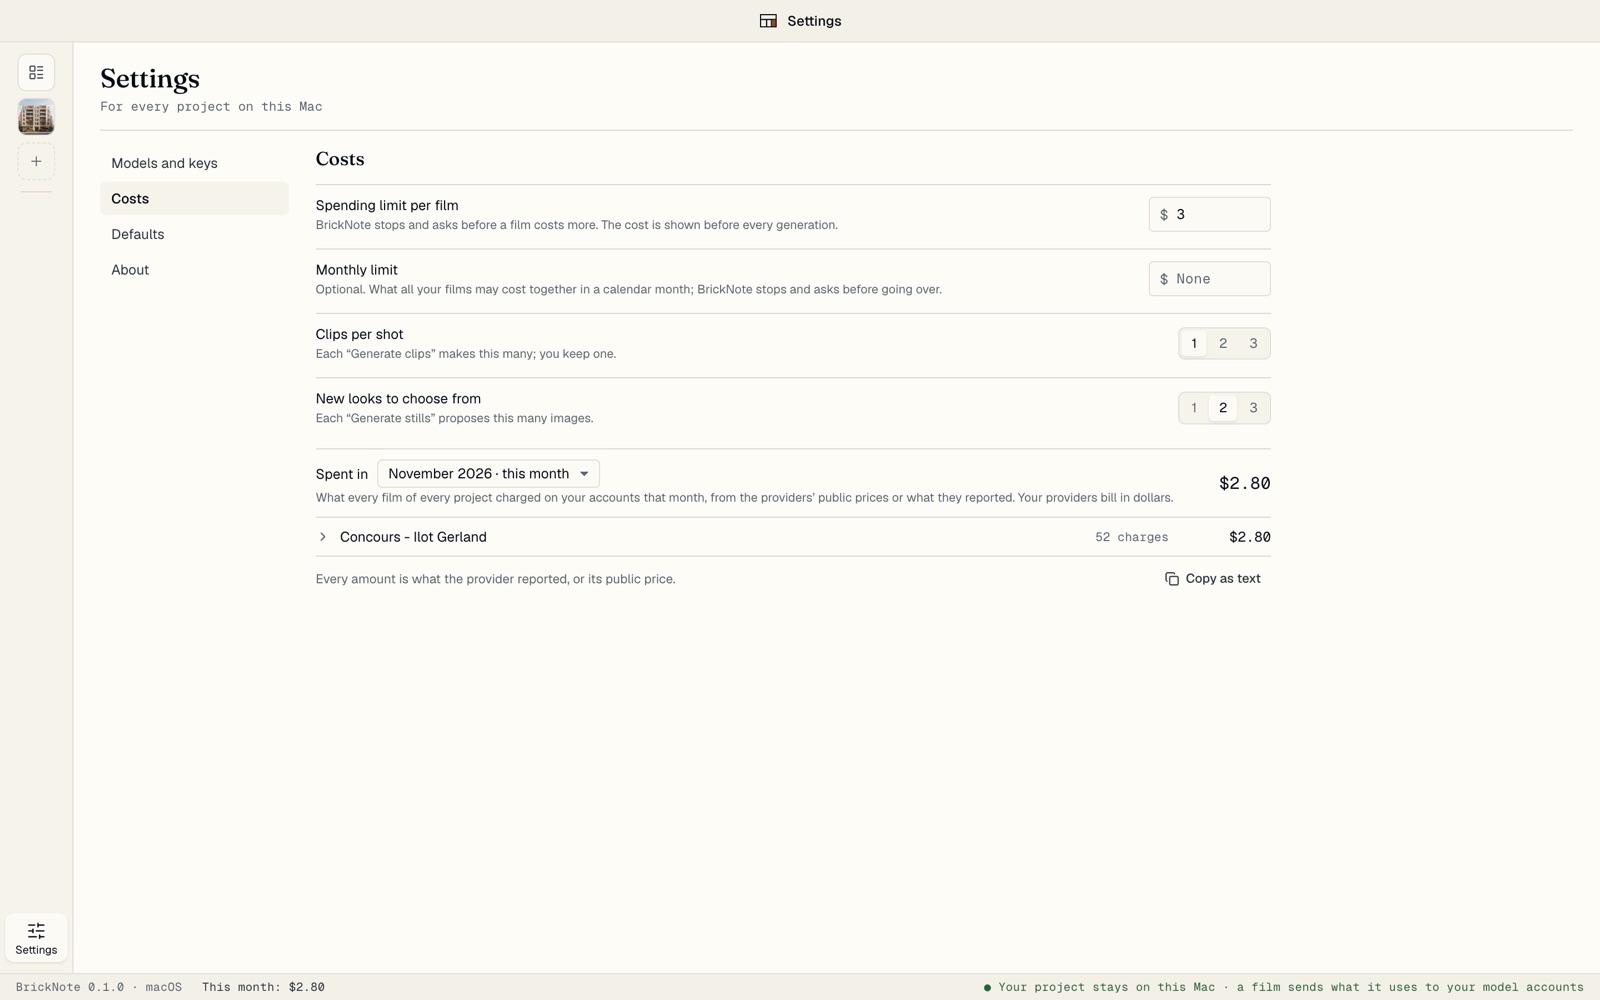
Open Settings › Costs.
Spending limit per film: BrickNote stops and asks before a film costs more. It is $10 on a new install.
Monthly limit: optional, what all your films may cost together in a calendar month.
Clips per shot and New looks to choose from: how many versions each click makes. You keep one, so fewer is cheaper.
Spent in adds up what every film cost on your accounts in a month: this month, or an earlier one chosen in the list. Below it, each project opens on its films and each film on its charges: the date, what was paid for and the amount, marked failed or estimated when the ledger says so. Copy as text copies the month, one line per charge, to paste in a mail or a spreadsheet.
See the price before you click
Each recipe shows what it typically costs for your project, such as ≈ $2–6 for a Project film here. Each button that spends money shows its price.
A click above $2 asks first, with the amount and your limit. Nothing over your limit is spent: BrickNote stops before it, says what drives the cost, and offers to raise your limit per film or to make fewer moving shots.
The status bar at the bottom shows what this month has cost. Click it to open Costs.